Want to add a handmade touch to your home decor? DIY decorative clay bowls are the perfect stylish, functional, and beginner-friendly craft. Whether you need a chic spot for jewelry, keys, or loose change, these trinket dishes are easy to make and can be customized to match your aesthetic!

The best part? No pottery wheel required! With just air-dry or oven-bake clay, you can create beautiful marbled, painted, or gold-detailed bowls that look like boutique decor.
Let’s dive into 5 stunning clay bowl styles you can make at home!
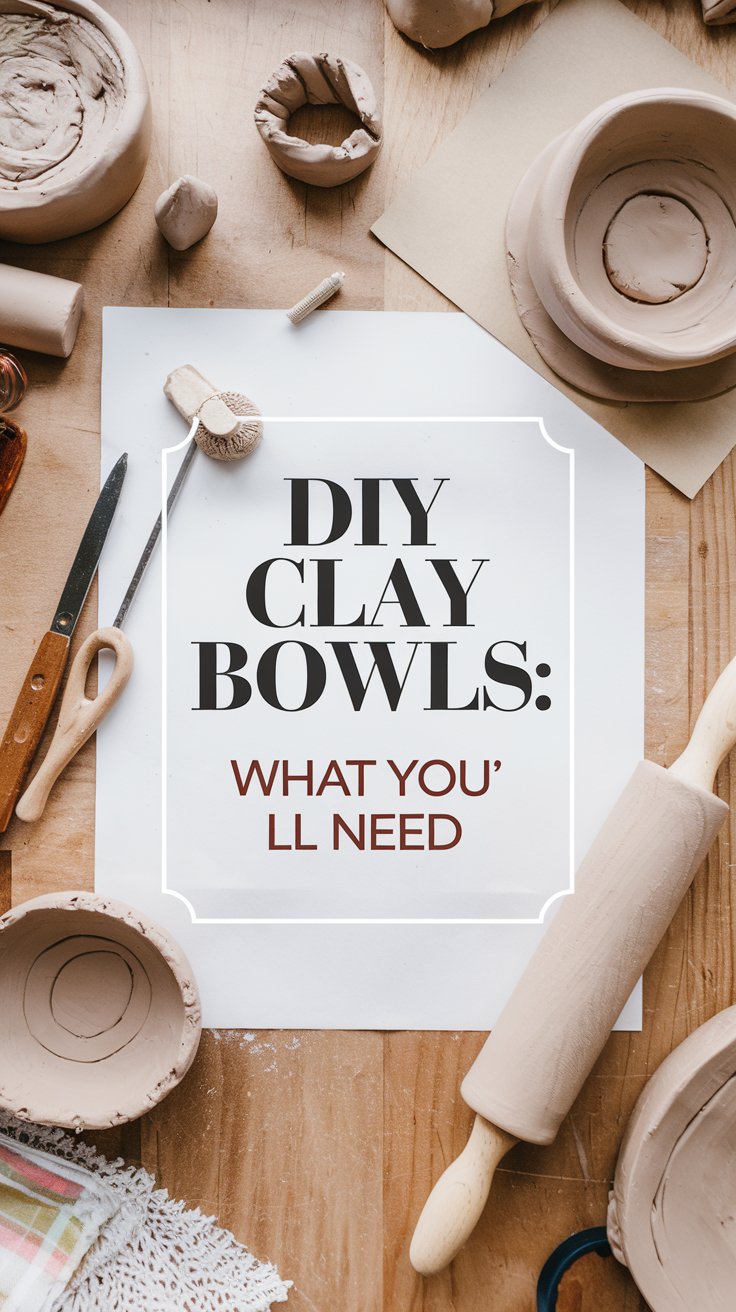
What You’ll Need:
- Air-dry clay (for an easy, no-bake option) OR Oven-bake polymer clay (for a smoother, durable finish)
- Rolling pin
- Small bowl (to use as a mold)
- X-Acto knife or clay cutter
- Acrylic paint, gold leaf, or metallic markers (for decoration)
- Mod Podge or gloss glaze (for sealing)
- Optional: Pressed flowers, lace, or stamps for texture
1. The Classic Minimalist Clay Bowl
Simple, clean, and elegant—this classic white clay dish is perfect for modern or minimalist decor.
How to Make It:
- Roll out your clay to about ¼ inch thickness.
- Use a small bowl as a guide and cut out a circle using an X-Acto knife.
- Gently press the clay into the bowl mold and smooth out the edges.
- Let air-dry for 24 hours (or bake according to clay package instructions).
- Once dry, lightly sand the edges for a polished look.
- Seal with Mod Podge or a clear gloss for a smooth, matte or glossy finish.
Picture This:
A small, sleek white dish sitting on your nightstand, holding your delicate gold rings and tiny pearl earrings—simple, chic, and perfectly handmade.

2. DIY Marbled Clay Bowls (No Paint Needed!)
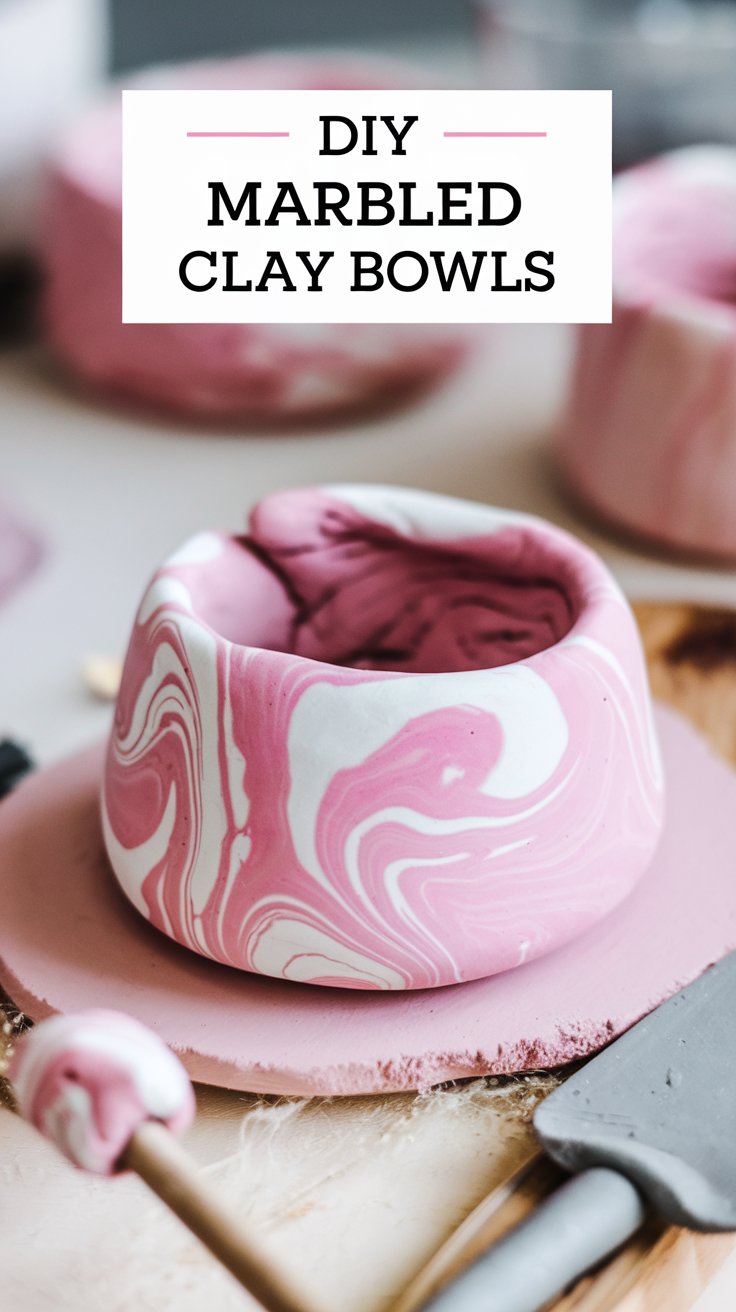
For a Pinterest-worthy finish, try marbling clay for a dreamy, one-of-a-kind look!
How to Make It:
- Take two or three colors of polymer clay and roll them into long ropes.
- Twist the ropes together, then roll into a new solid ball.
- Flatten with a rolling pin and cut out a circle.
- Press into a bowl mold and bake according to instructions.
- Optional: Add gold edges with metallic paint for a luxe touch.
Picture This:
A soft pink and white swirled clay dish with gold edges, catching the sunlight on your vanity—pure elegance with a handmade touch.
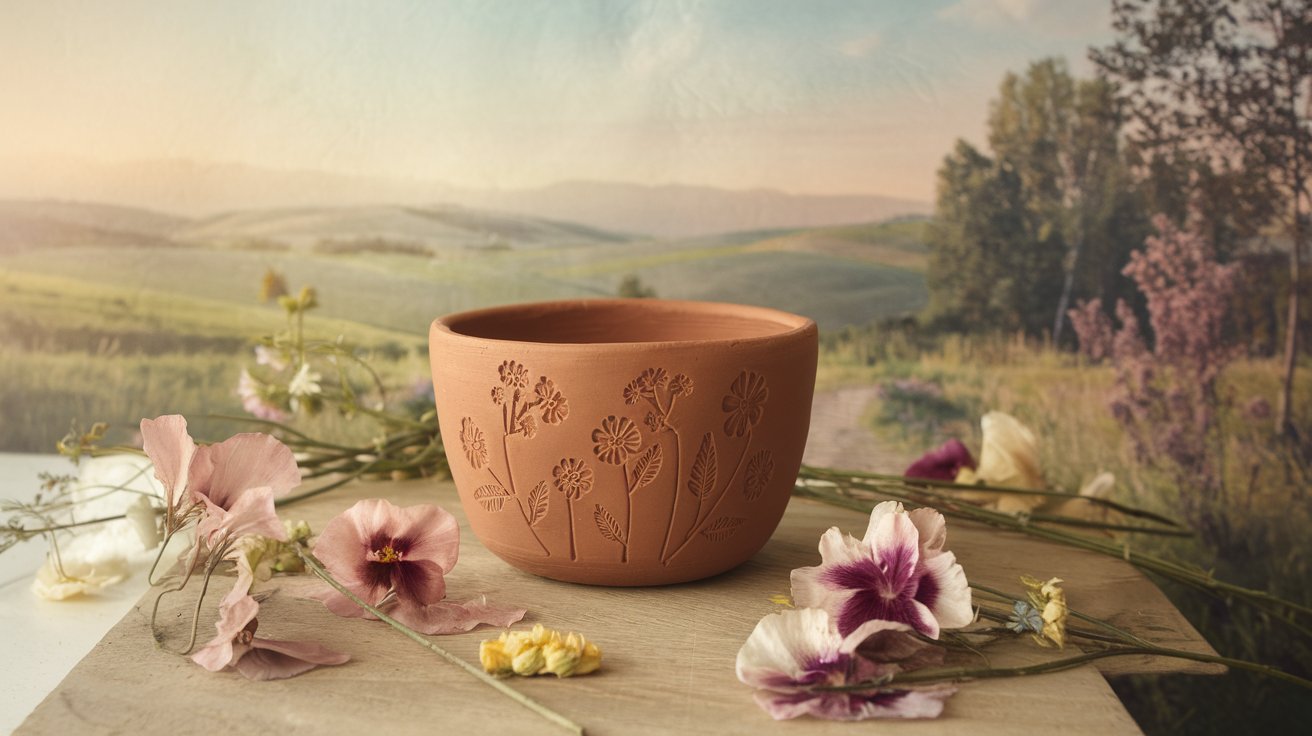
3. Boho-Style Pressed Flower Trinket Dish
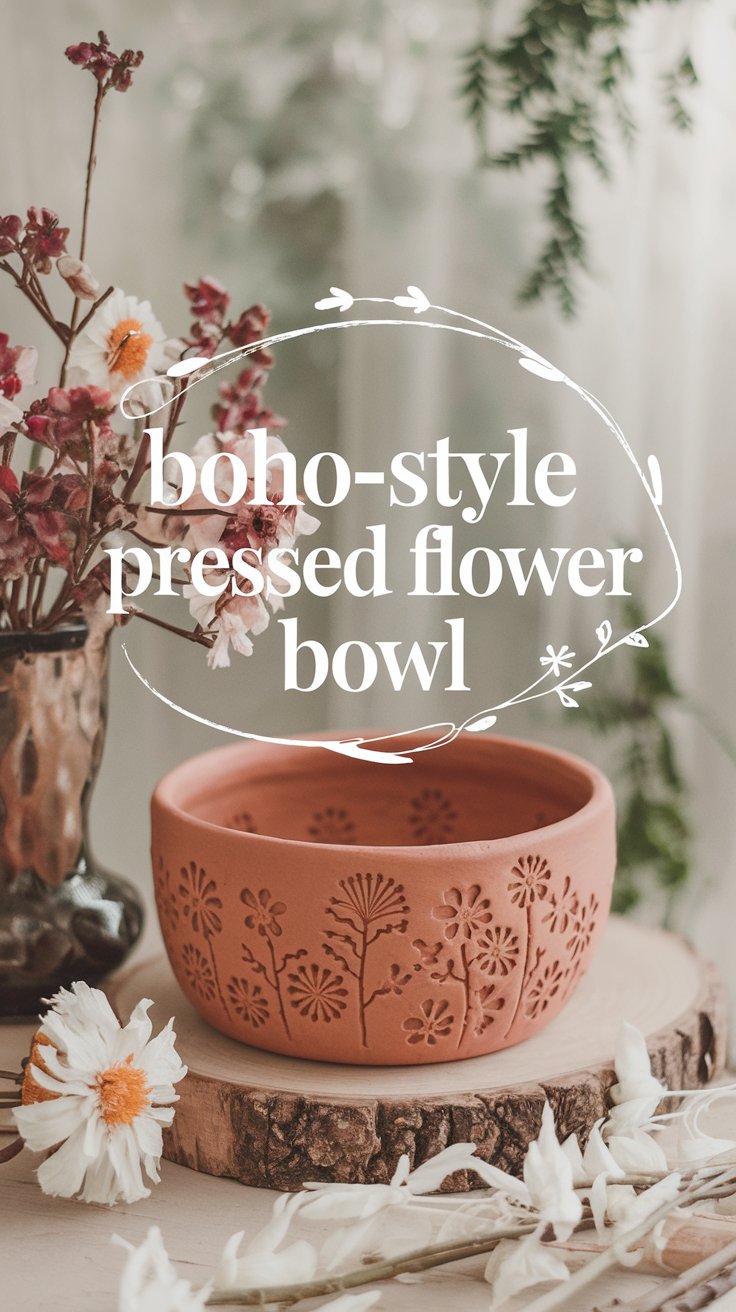
Love nature-inspired decor? This botanical clay bowl is perfect for a soft, romantic vibe.
How to Make It:
- Roll out the clay and press real or dried flowers into the surface.
- Gently remove the flowers, leaving a beautiful imprint behind.
- Mold the clay into a dish and let it dry/bake.
- For extra charm, paint inside the floral impressions with pastel or gold paint.
- Seal with Mod Podge for protection.
Picture This:
A delicate dish with lavender and wildflower impressions, sitting next to a cozy candle, adding a whimsical garden vibe to your space.
4. Hand-Painted Boho Patterns
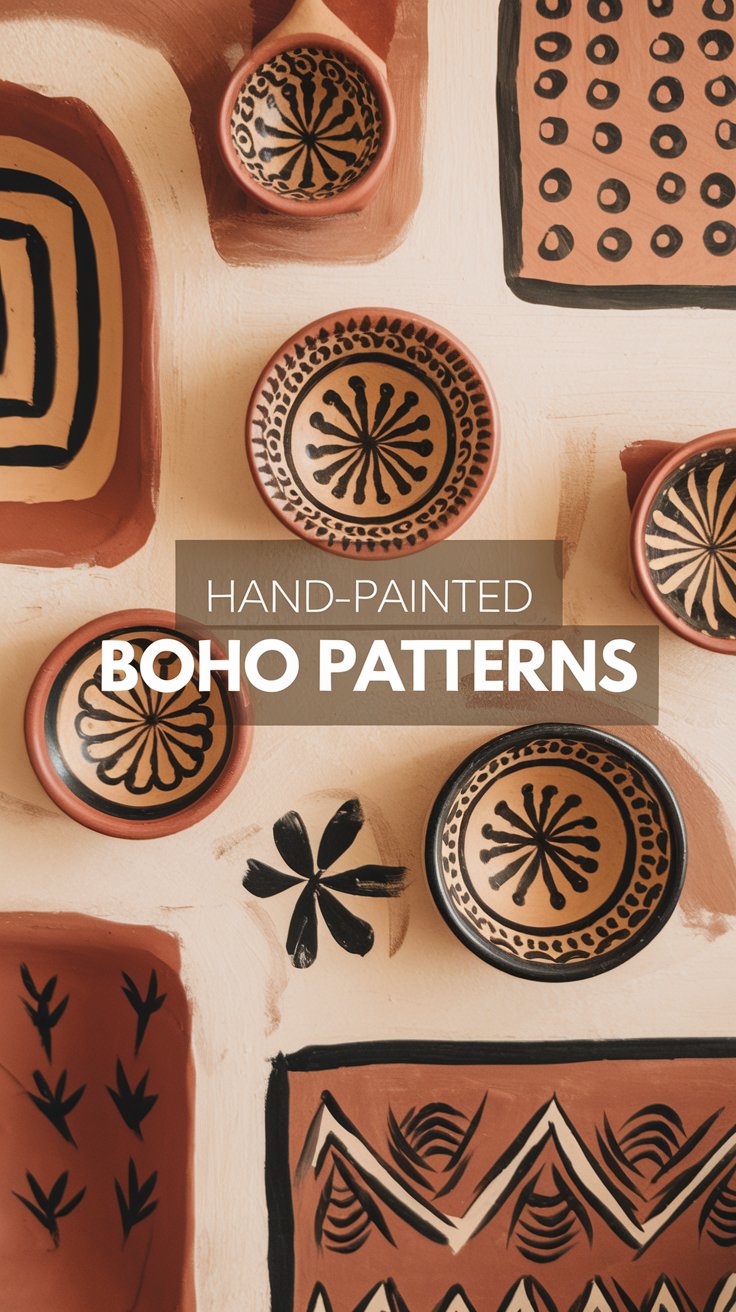
Want a playful, artistic touch? Hand-paint your clay bowls with boho-inspired patterns like dots, moons, or geometric shapes!
How to Make It:
- Follow the classic bowl-making steps and let the clay dry/bake.
- Use acrylic paint or paint pens to create unique patterns—dots, stripes, celestial motifs, or abstract art!
- Outline details in gold or metallic paint for extra flair.
- Seal with a gloss or matte finish.
Picture This:
A hand-painted black and white trinket dish with tiny moon and star designs, glowing under a candlelit shelf—boho magic in a bowl!
5. Gold Leaf Glam: The Chic & Luxurious Clay Dish

Want a high-end look on a budget? Gold leaf accents make any clay bowl look expensive and elegant.
How to Make It:
- Create a classic clay dish and let it fully dry/bake.
- Apply Mod Podge to the areas where you want gold leaf to stick.
- Carefully press gold leaf sheets onto the dish, brushing off excess flakes.
- Let dry, then seal with another layer of Mod Podge for durability.
Picture This:
A white ceramic-like dish with gold leaf accents, catching the light on a stylish dresser—it looks boutique-bought, but you made it yourself!
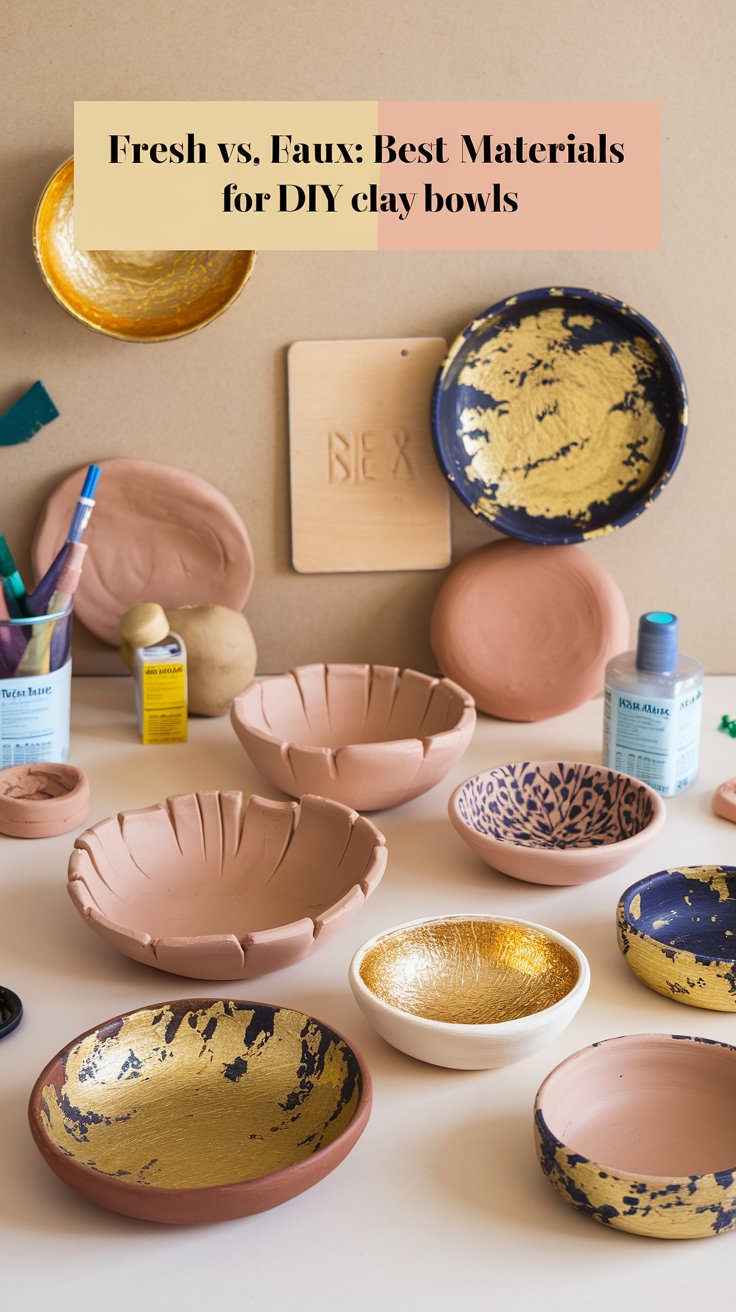
Fresh vs. Faux: Choosing the Best Materials
- Air-dry clay → Best for beginners, soft matte finish, no baking required
- Polymer clay → More durable, smoother finish, requires baking
- Gold leaf vs. gold paint → Gold leaf adds real texture, while metallic paint gives a softer shimmer
- Gloss vs. matte sealer → Gloss creates a ceramic-like shine, while matte keeps it modern & minimal
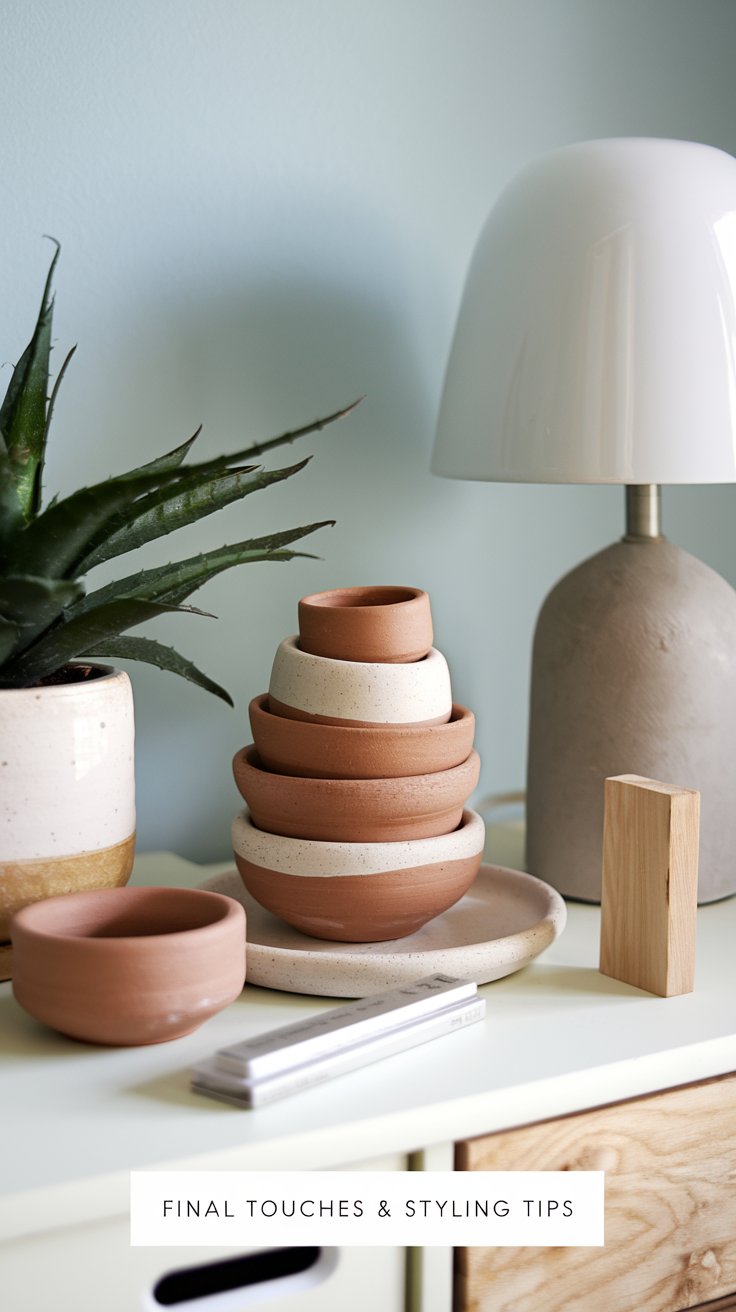
Final Touches & Styling Tips
- Match your decor! Choose colors that complement your room’s aesthetic.
- Layer & stack → Mix different sizes of trinket dishes for a Pinterest-worthy nightstand display.
- Perfect for gifting! Wrap a handmade clay dish with a delicate ribbon—perfect for birthdays, bridesmaids, or Mother’s Day gifts.
Which DIY Clay Bowl Will You Make First?
Are you team marbled, team gold leaf, or a boho floral fan? Whatever your style, making your own handmade clay trinket dish is a fun, creative way to add a personal touch to your home decor.
💡 Pin & Save This Post! Add this to your DIY board so you can come back when you’re ready to craft your own!
✨ Tag Us on Pinterest! Share your creations and tag @HooksAndHavens for a chance to be featured!


